
Simple Steps for Installing New GE Switches & Cover Plates

Before getting started, be sure to turn OFF the power supply to the box for any switches you plan to replace.
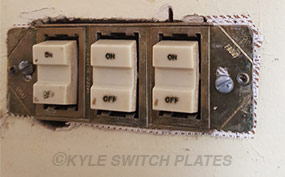
Remove old cover plate.
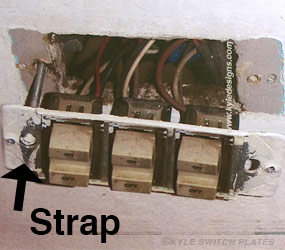
Remove metal strap holding old switches into place.
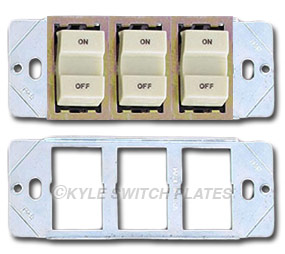
Disconnect wires from each switch.
Set old switches & metal strap aside.
NOTE: The metal strap holding the old switches will no longer be needed. DO NOT put any of the new switches into these old straps. They are not compatible.
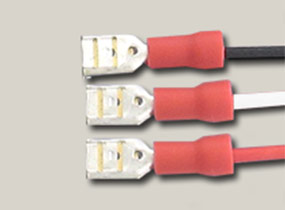
Attach quick connectors to end of the wires coming out of the wall.
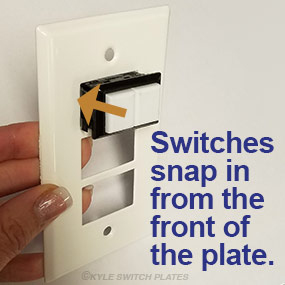
Snap switches into plate from the front side.
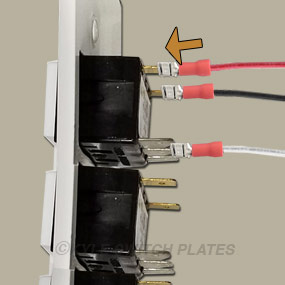
Once all switches have been snapped into the plate, connect the wires to the back of the switches.
Red and black are labeled.
White wire connects to "Common" side.
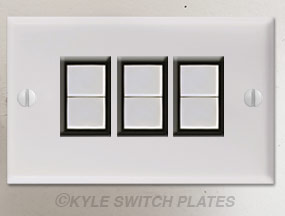
Push wiring into box, align cover plate screw holes and attach using included wall plate screws.
Turn power back on to the switches.
